
Editing Sunset at the South Bank
This post is not to open that can of worms amongst photographers about how much editing is too much editing. Everyone will have a different opinion and is why art is so subjective and this is a good thing and to be celebrated. It is clear, there is no right or wrong answer but I think it's apparent where I stand on the subject based on the images I produce but in case you were wondering, this is my take on it. I will edit my photos unapologetically but within limits I impose on myself to stay true to the scene I captured such as working with the shot that was taken and not substituting the sky or removing permanent objects that will significantly alter the scene I saw while on location. I will remove the occasional distracting temporary object such as cranes in a cityscape or a bird in the wrong place etc but this is on an image by image basis. I do blend images when required and the dynamic range is just too big for the camera to work with but anything I blend in was captured at that time and place and not somewhere else.
So now you know my values as a photographer, let me show you the journey of the Sunset at the South Bank image shown below, from the Fuji RAW file to the final image showing some of the steps the image took along the way.
Fujifilm X-T10 | XF18-55mm | 23mm | 58 Secs | f/11 | ISO200
I recently posted an "On Location" blog with the story behind this photo shoot in London which you can read here so I won't go into too much detail. Steps 1 to 5 below were performed in Adobe Lightroom and only the final sharpening step took place in Photoshop.
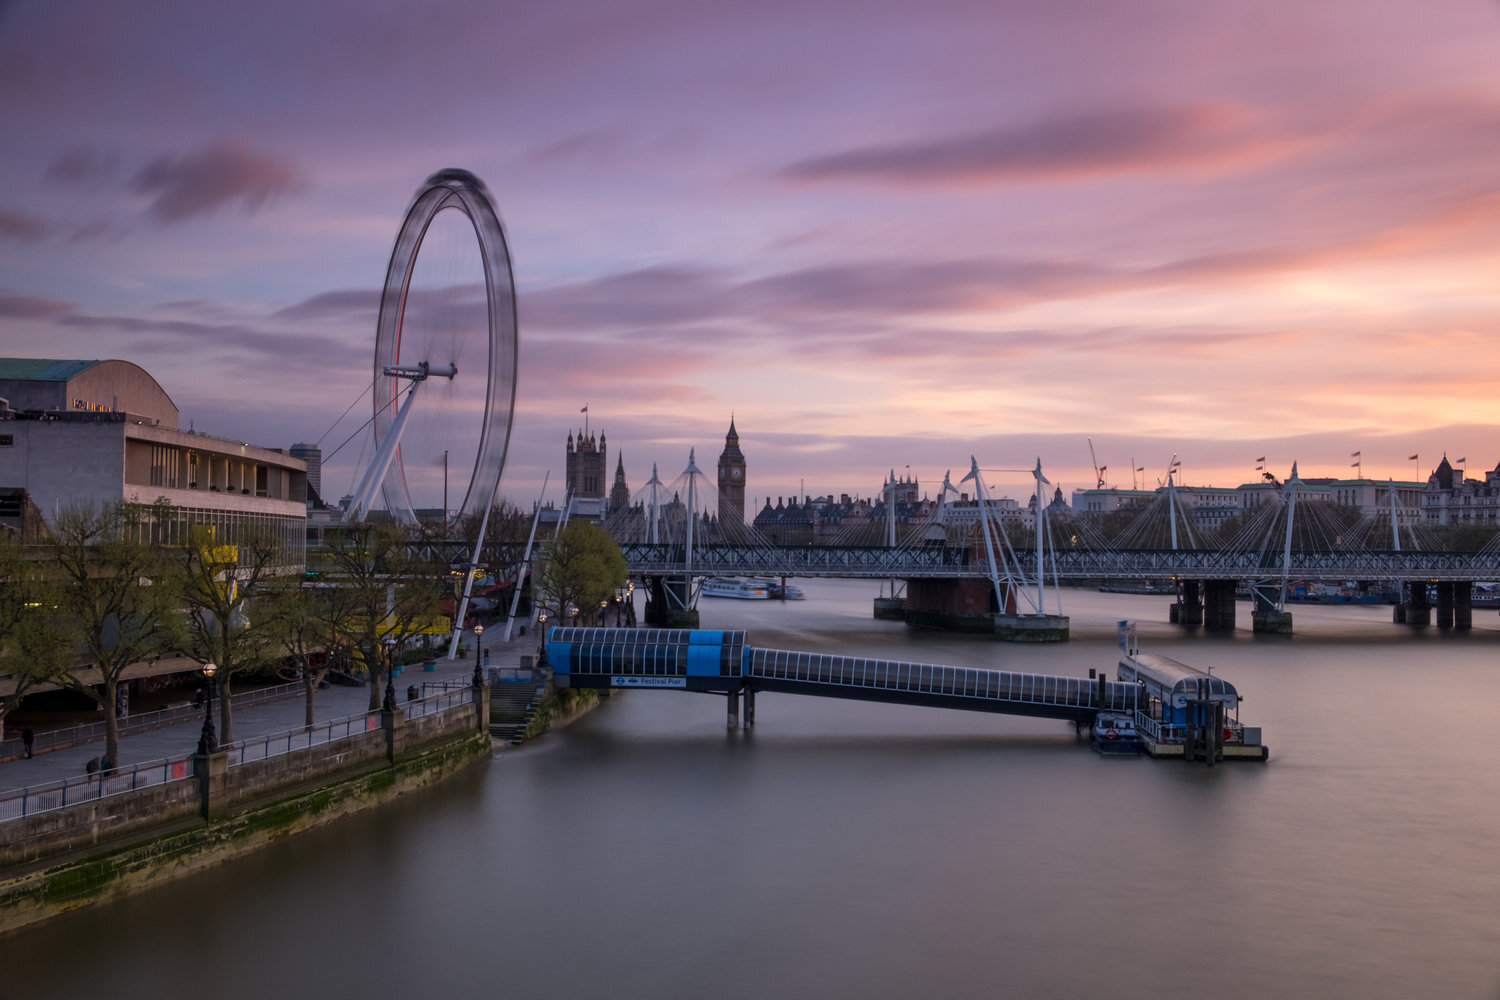
The raw image
So this is how the image started, taken straight out of the camera. As you can see, there is already a lot of reds and pinks in the sky and across the scene to exploit later in the final image.

A few settings for your information.
Camera: Fuji X-T10 with XF18-55mm lens
Exposure time: 58 seconds (10 stop natural density filter used)
Focal length: 23.3mm (zoom)
Aperture: F11 (the size of the hole that lets the light in)
ISO: 200 (lowest number, less light sensitive)
Step 1 - Levels and Vibrancy
In the image below, I have adjusted the levels (darks and lights) to help boost the image. Additionally I have added a touch of vibrancy to start exploiting those colours. I also slightly levelled the image.
Step 2 - Lights and Darks (Curves) and Vignette
In this image, i worked on the contrast of the shot, making the shadows a bit darker and lights a bit lighter which adds contrast and helps the image pop a bit more. Additionally, I added a bit of vignetting which I think helps frame the shot.

Step 3 - Graduated filter to boost the lower half
Next, I worked on boosting the water in the lower half of the image. I used a graduated filter and brightened up the water and added a touch of magenta to bring out the reflected colours from the sky.

Step 4 - Selecting lightening
Next, I did something I do to a lot of my images and is very subtle but very effective. It is a kind of dodge of burn technique. I will use a radial filter and selectively lighten areas to really make them pop in the image. In this image I added some more light and/or contrast to areas such as the South Bank river wall on the bottom right, the South Bank Centre to the left and the Festival Pier in the water. I also further lightened the water in the foreground.

Step 5 - Shadow colour and more selective lightening
In the penultimate image, I have added a subtle blue in the highlight and a touch of magenta in the shadows to really boost the colours in the image. I lightened areas of the water a bit more to help give it that smooth luxurious look.

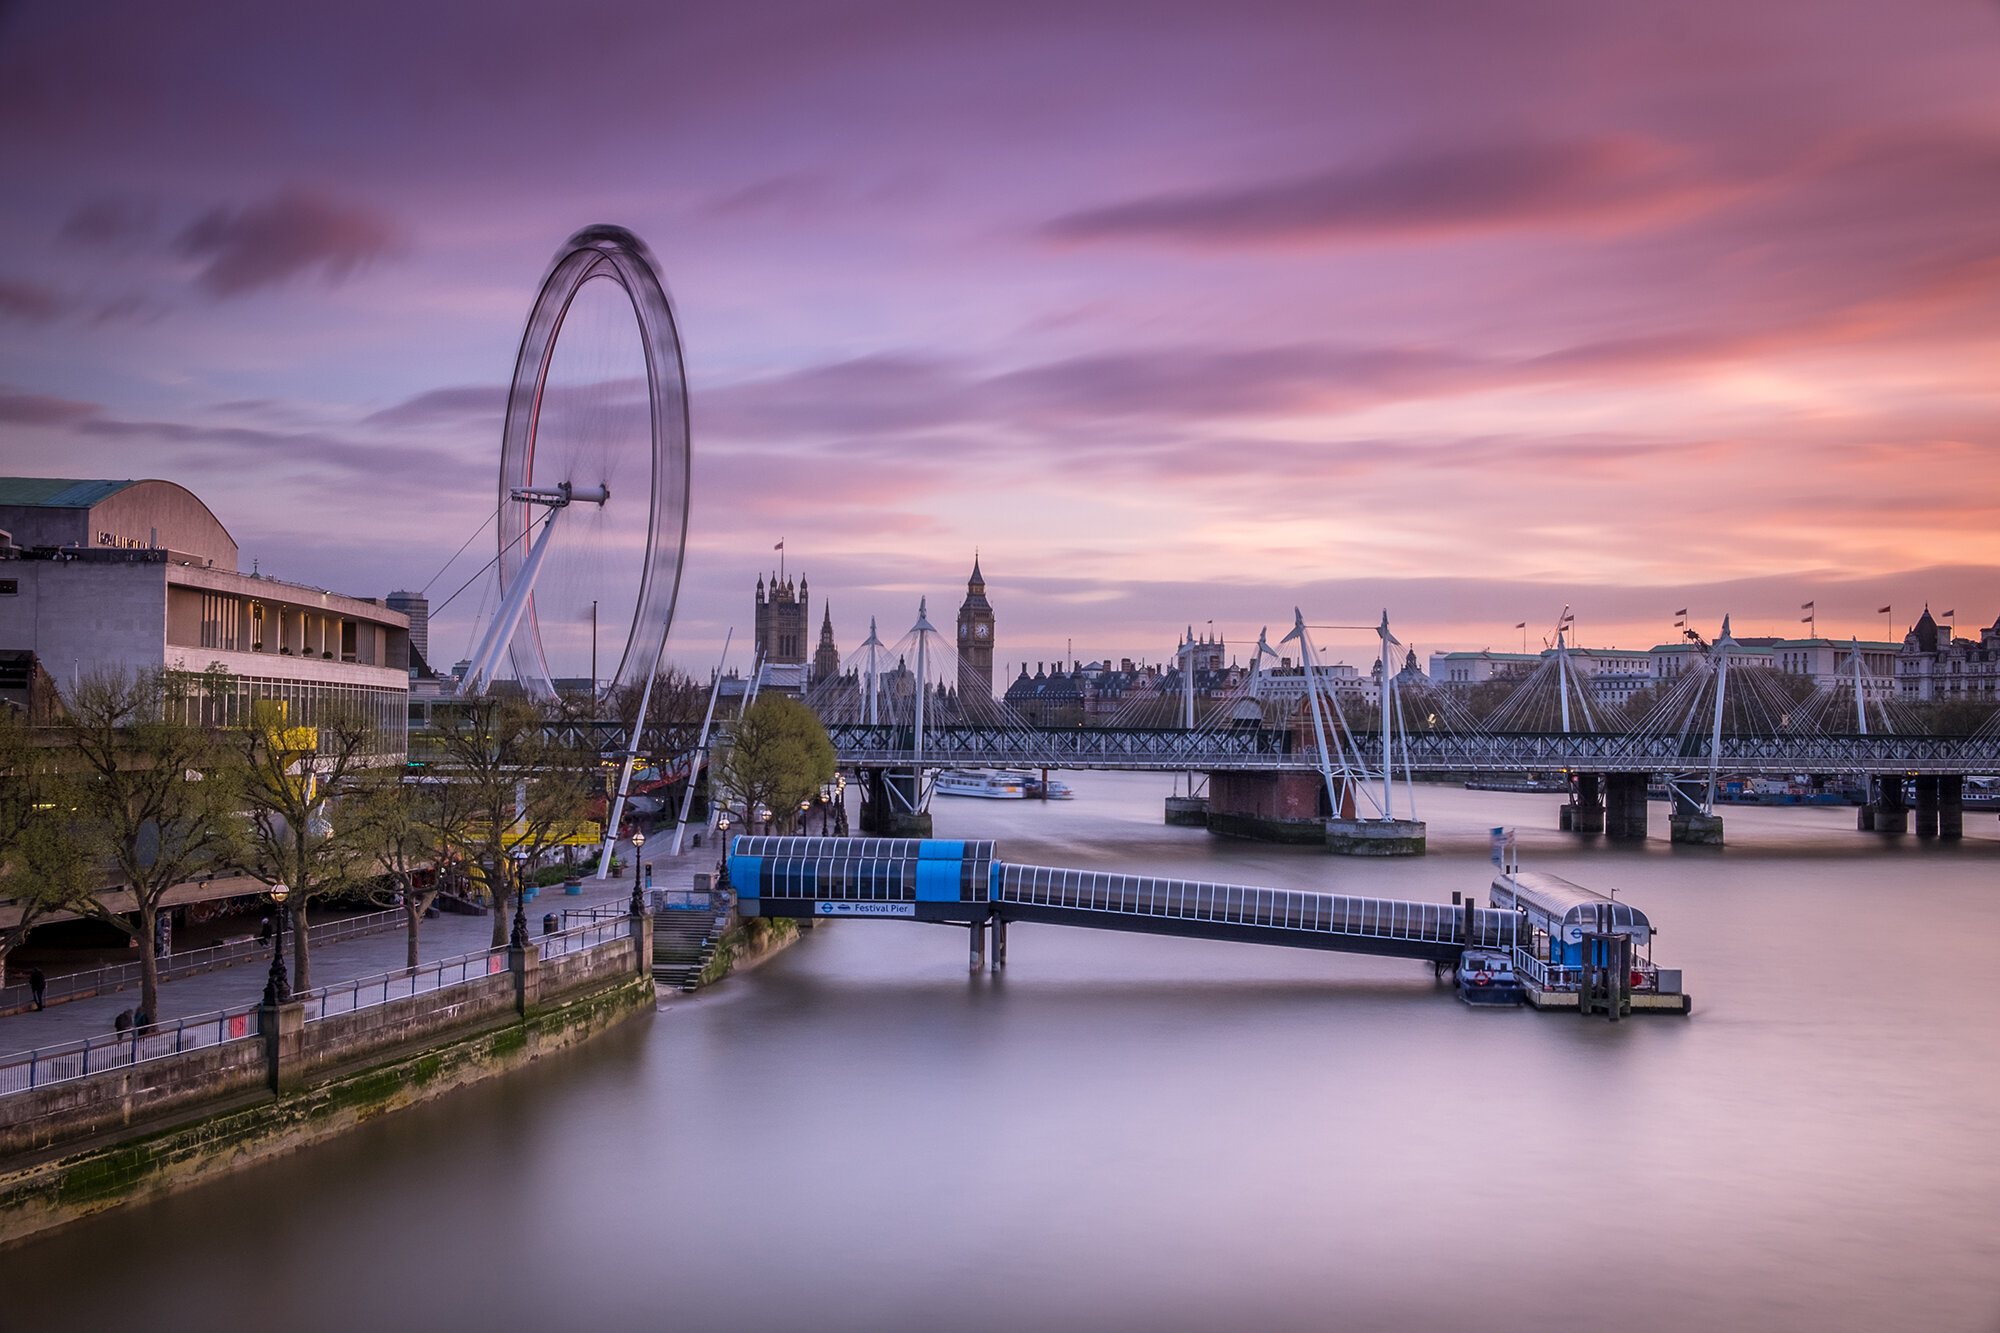
Final Step - Sharpening and removing a few cranes
In the final image, I opened the image in Adobe Photoshop (all previous steps were in Adobe Lightroom). Beforehand, I had removed the default sharpening Lightroom applies and once in Photoshop, I used the high pass filter to apply some selective sharpening to the image. Finally, I cloned out a few cranes from the top of the buildings in the distance and the image creation process was complete.

Fujifilm X-T10 | XF18-55mm | 23mm | 58 Secs | f/11 | ISO200
I hope you found that somewhat useful. As I mentioned at the beginning of the post, I don't try to hide the fact that the post-processing is equally as important to me as the taking of the shot as I want the final image to look how I envisaged in my minds eye when at the location behind the camera absorbing the scene in front of me.