
How I Created This Epic London Panoramic
At the beginning of 2018, I ventured out into a clear, cold London to capture a new panoramic of the ever-changing skyline. Although cold, the conditions were great as the night was clear and city lights were lighting up the scene nicely.
In my bag, I had my Fujifilm XT2 and three lenses. The XF10-24mm, XF18-55mm and the XF55-200mm. For this shoot, I used the XF55-200mm with the XT2 and you will read why shortly.
Fujifilm XT2 | XF55-200mm | 82mm | 6-30 Secs (bracket) | f/14 | ISO200
On Location, capturing the photos
So, let's start with the obvious question. Why take a panoramic image when even a standard 18-55mm lens would capture the entire scene in one shot?
Well, it will vary scene to scene but one of the characteristics of using a wider focal length is it tends to push the background further away, de-emphasising it from the composition somewhat. This is really not what I wanted for the final image as the tall buildings in the background are an important part of the image and need to remain prominent so I needed to use a telephoto lens to bring the background closer. So, on this occasion, I had already prepared to use a longer focal length and take multiple images from left to right.
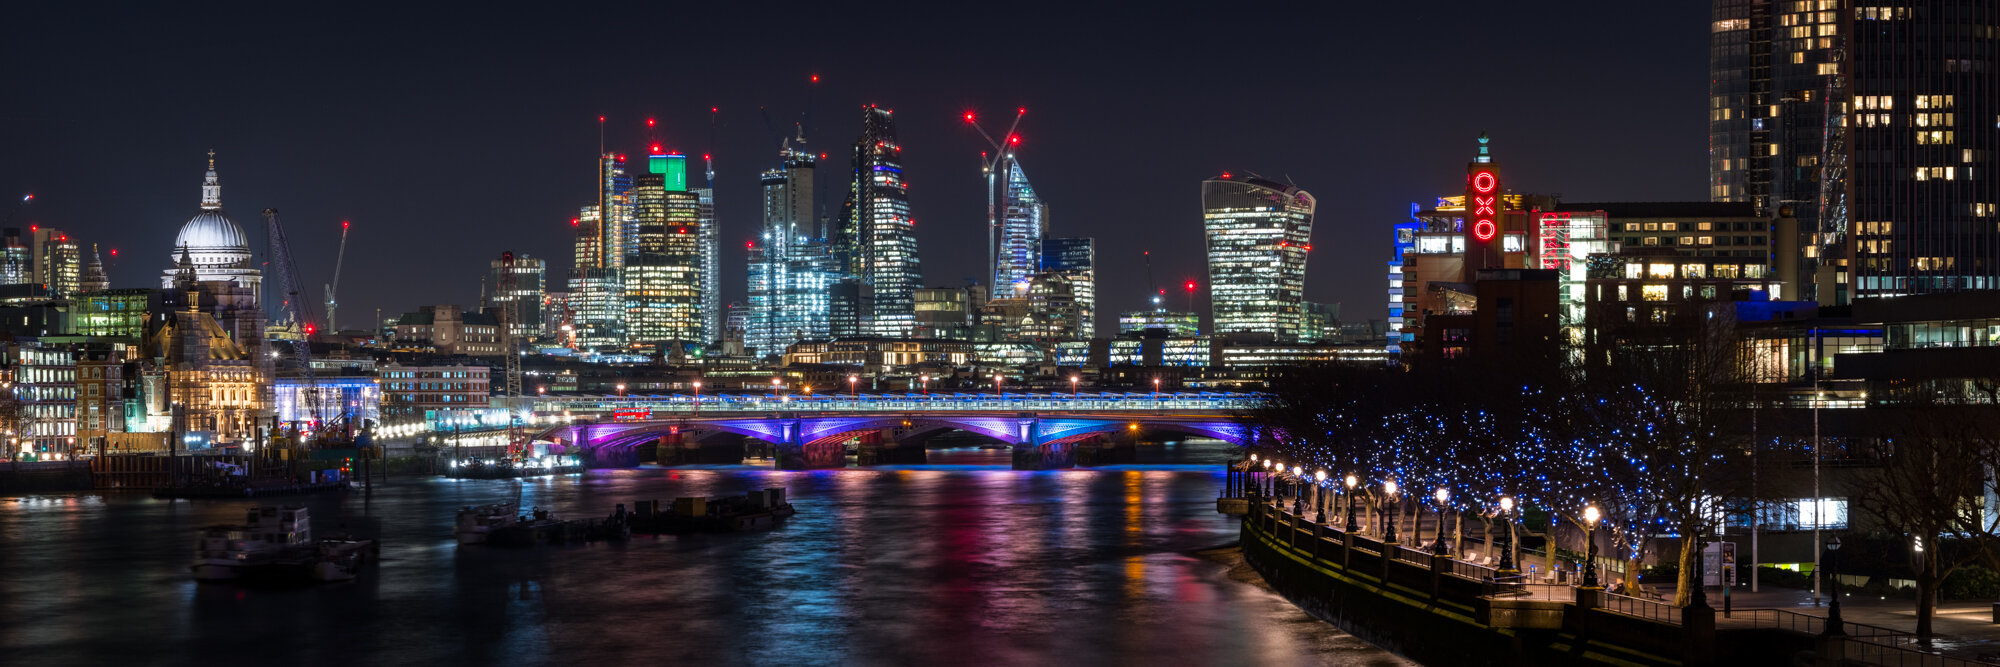
This panoramic of London was taken from Waterloo Bridge. I like this composition as it has recognisable structures such as the dome of St Pauls, the Oxo Tower to the right and the many new modern buildings in the background. I also particularly like the way the lights on the Southbank sweep into the frame leading the eye towards the city skyline.
Due to the dynamic range within the scene with deep black shadows and bright lights, I also decided to bracket each photo by 1 stop of exposure.
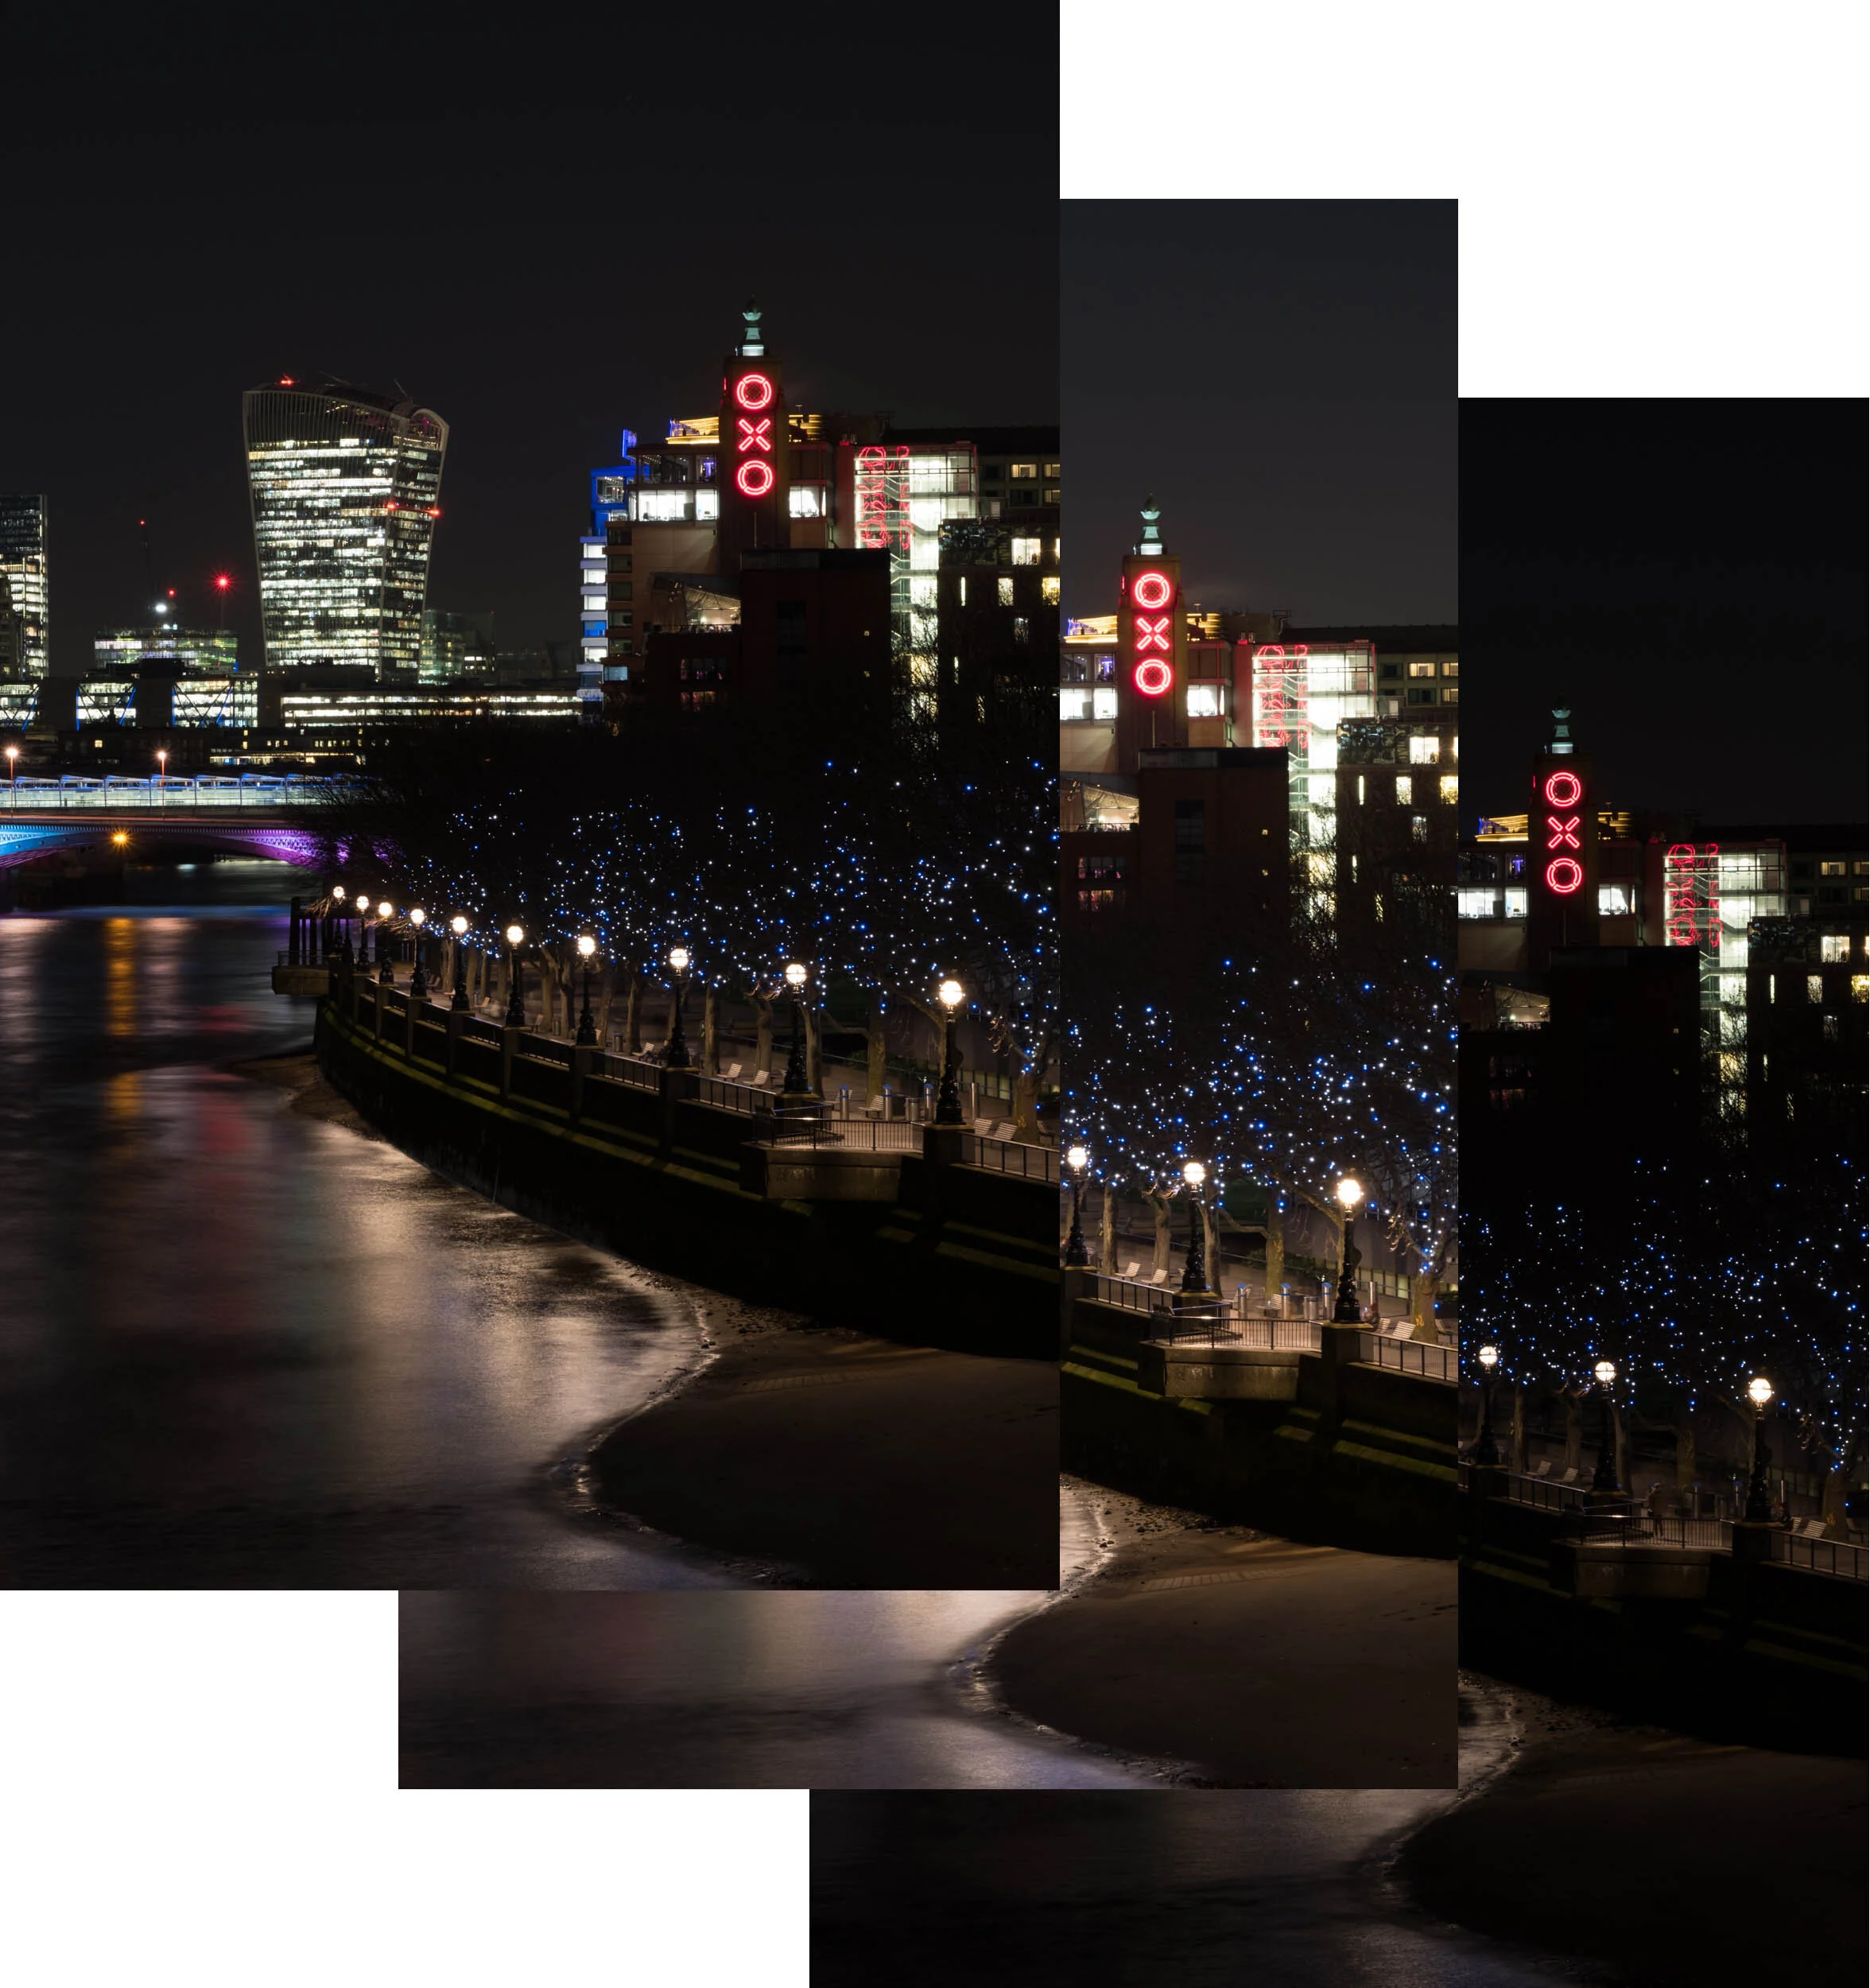
On went the 55-200mm lens and with my XT2 mounted in portrait mode I panned from left to right, ensuring I overlapped by 50% or more to help the stitching later. The focal length used was 82mm at f14 with each bracketed exposure ranging from 6 to 30 seconds each. I also carefully checked each image to ensure it was sharp and once I was happy I had the sots in the bag, off I went to catch the train home.


Back home, combining the bracketed images
Now back home, I loaded the RAW files into Lightroom and proceeded to merge each bracketed shot resulting in an image with lots of dynamic range to play with. To do this in Lightroom, select Photo - Photo Merge - HDR. I was then left with just 7 HDR images.

Now, a quick note about HDR. Although some like it and others don't, done correctly HDR can be a valuable tool in the post-processing workflow. As long as the effect is not overdone, using HDR subtly can help create some fantastic images.
Once I had the 7 images (in DNG format), I gave them all a star rating and filtered my view by that star. It's a neat way to declutter your workspace as it leaves you just the images you want to work with.
Creating the panorama
Next, with the 7 DNG files ready, I then proceeded to merge the images into a panorama. To do this, I selected all 7 files then chose
Photo - Photo Merge - Panorama.

I selected the Spherical projection and let Lightroom do its thing. As you can see, by taking the images in portrait mode, it has allowed for extra height for when some inevitable cropping is needed. However straight you set your camera up on the tripod, there is always some cropping required. Below is the merged, cropped image ready for some post-processing.

Post Processing
Next, I commenced my usual Lightroom workflow, working down the different sliders enhancing the image. Here are the settings I used:

As you can see, it didn't take a huge amount to create the image here. I cooled off the white balance, toned down the highlights, then gave the image a bit of vibrancy to bring out the colours in the city lights. After adjusting the curves and adding a small vignette and I was done. Below is how it looked after this stage of the process.
The final step in the process was to export the image into Adobe Photoshop. Here I performed the following:
Cloned out a few light trails left by the lights of a plane
Added a bit more contrast using levels and curves
Used the high pass filter on a new layer to add just the right amount of sharpening
(I rarely add sharpening in Lightroom)
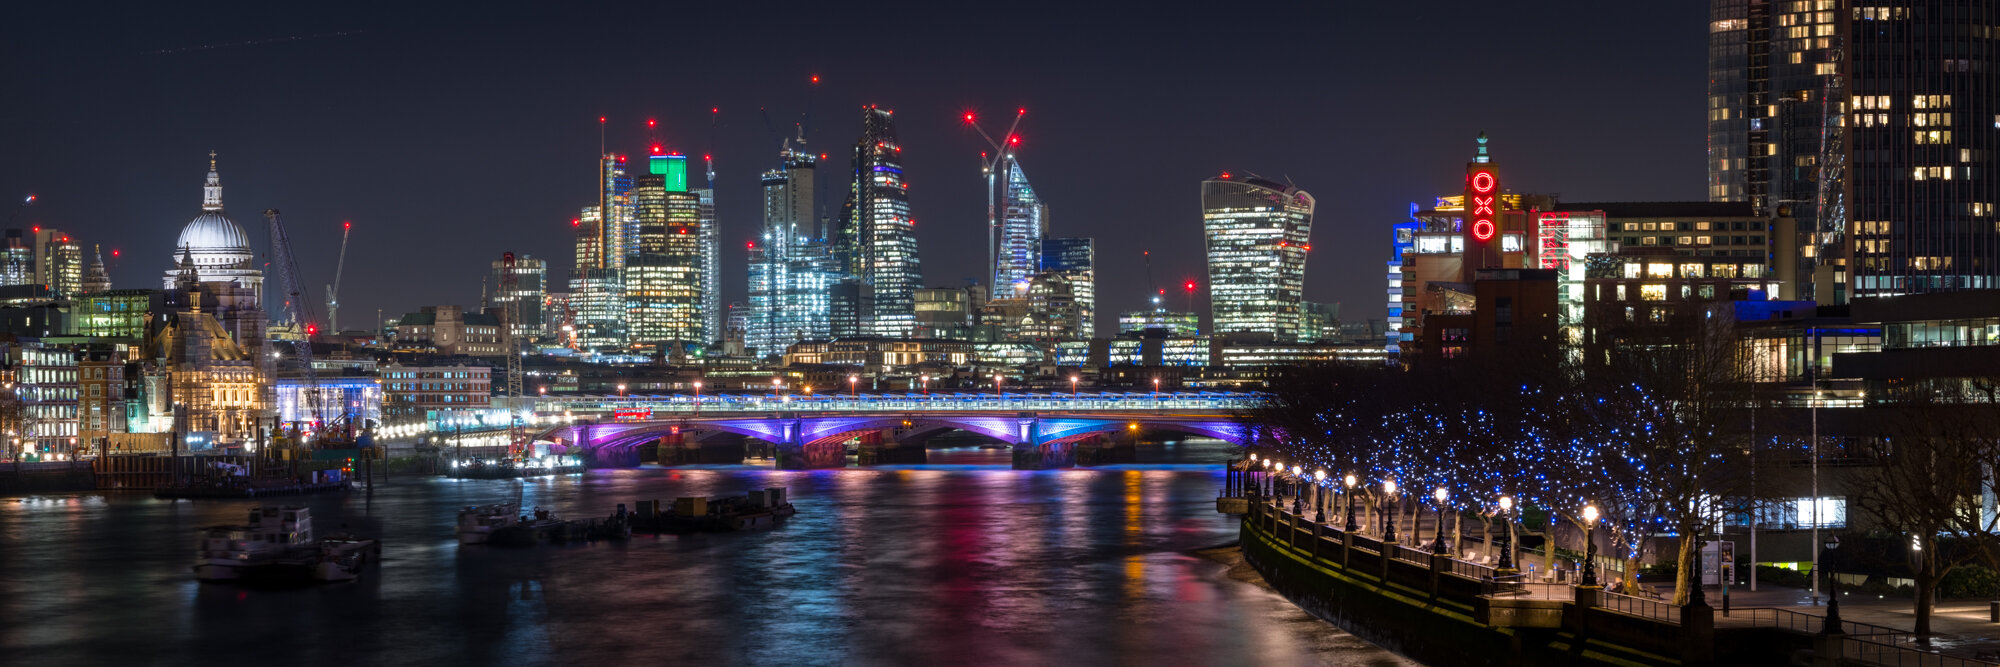
And that's it! The final image is below (select the image for larger version)

Fujifilm XT2 | XF55-200mm | 82mm | 6-30 Secs (bracket) | f/14 | ISO200
With the resulting image being over 62 megapixels, it can be difficult to demonstrate just how much quality and detail there is so be sure to check out the video below to better show off this final panoramic photo.
And there you have it, the full end to end process I followed to create this striking panorama of London's vibrant skyline. If you have any questions for me about this or any other image I have created then please get in touch by emailing me at photo@trevorsherwin.co.uk or using my contact page here.