
How I took this long exposure photo for under £50
Is long exposure Photography an expensive undertaking? Well it certainly can be. Over the years I have spent hundreds of pounds on filters, tripods and accessories in my pursuit of capturing long exposure photos of London’s cityscape.
Now, I accept that the title of this post is a tad misleading. It’s certainly correct that I captured the image below with under £50 worth of accessories but with one significant pre-requisite. The camera. This, you will need to have already, in particular, a camera that has full manual options.
This article won’t go too deep into how to take long exposure photos. If you want to read a 10 step guide to taking long exposure photos, see the following article on my blog: HOW I TAKE LONG EXPOSURE PHOTOS.
On a recent outing in London, I found myself in East London just before sunset. I was actually out testing my newly acquired Fujifilm X-T30 camera that at the time of writing has just been released and just as I crossed Tower Bridge I decided I would put the camera through its paces and capture a long exposure looking west towards The Shard.
Here is the photo I ended up taking. The long exposure gives the image a silky-smooth look and blends the colours of the sky nicely.

Fujifilm X-T30 | XF18-55mm | 18mm | 25 Secs | f/10 | ISO160
What equipment did I use to take this photo?
Apart from the camera itself, I used only two accessories to capture this image. A small table top tripod to keep the camera perfectly still and a 10-stop screw in neutral density filter to slow down the exposure.
Just a note. The equipment I use here is certainly not top of the range and you may well find even cheaper alternatives from places like China but I have been using both items listed below for some time and for the price, it is, in my opinion well worth the extra few pounds over cheaper unknown brands.
Read more about the kit I have in my bag here: WHAT'S IN MY CAMERA BAG? (2019 EDITION)

HOYA PROND1000 10 STOP ND Filter - £29.99
To slow down the light reaching the cameras sensor, and to essentially trick the camera into thinking the ambient light is lower than it really is, you need a Neutral Density Filter. This Hoya PROND1000 is a 10 stop filter meaning it reduces the light entering the lens by 10 stops. Filter kits from the likes of Lee or Formatt-Hitech can be hundreds of pounds whereas I brought this great little filter with a 58mm thread size for under £30.
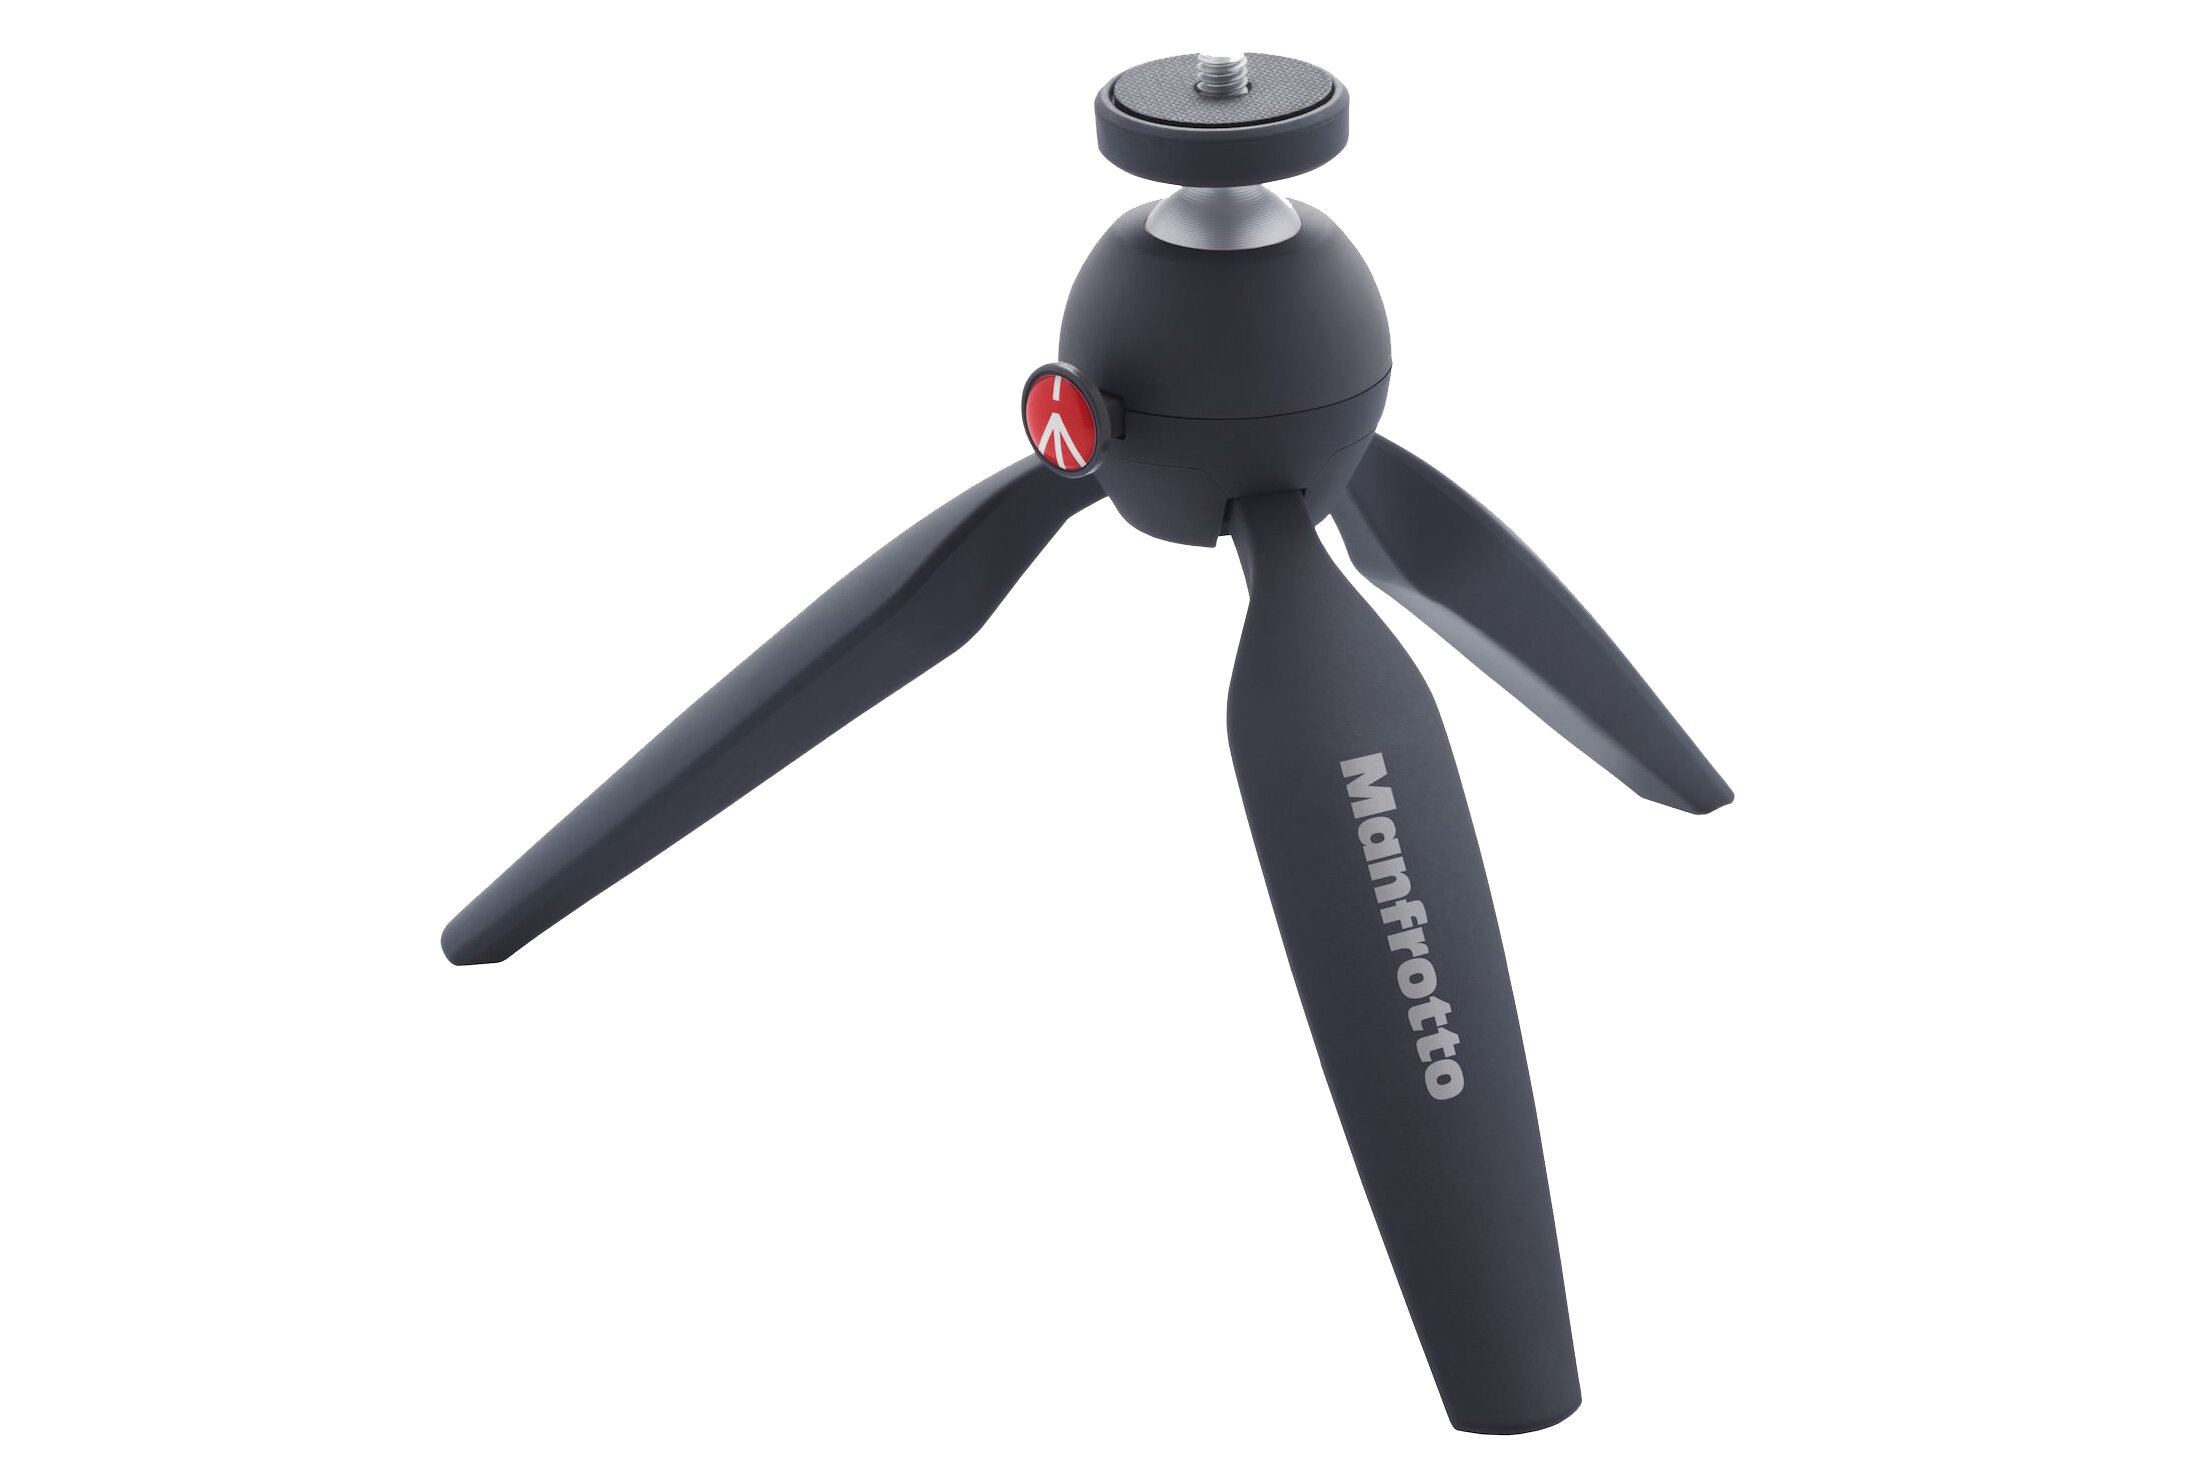
Manfrotto Pixi Tripod - £16.99
Now, I accept that in some ways, this is not the most versatile tripod. It’s size certainly has some limitations but this great little tripod is perfect to slip in any bag and as long as there is a ledge to perch on, this is strong and stable enough to support my Fujifilm X-T30 and attached lens.
Total Cost £46.98
So, looking west from Tower Bridge and with the camera perched nicely on the thick walls that flank each side of the bridge, I composed the image. I manually focused the camera, set my desired aperture and shutter speed and captured what I already think is one of my top photos of 2019.
There you have it. If you’re looking to give this fantastic technique a try but not looking to invest too much money (just yet), now you know how it can be achieved for under £50.